


Visual inspect fiberglass panels for dents, cracks, or chips using light sources. Minor damage may require dent removal or auto glass replacement. Essential tools and materials include scrapers, sanders, brushes, utility knife, straight edge, body filler, primer, topcoat, gloves, glasses, and mask. Follow a cleaning, sanding, priming, filling, and painting process for repair. Paint with base and clear coats for protection and seamless restoration matching original finish.
“Experience a minor collision with your fiberglass vehicle? Don’t panic! This comprehensive guide offers a practical approach to repairing damaged panels. From assessing the extent of the harm to choosing the right tools and materials, we’ve got you covered. Learn the step-by-step process for restoring your fiberglass panel to its original condition. Master these techniques and save time, money, and effort on minor collision repairs.”
- Assessing Minor Collision Damage to Fiberglass Panels
- Tools and Materials Needed for Repair
- Step-by-Step Guide to Effective Fiberglass Panel Restoration
Assessing Minor Collision Damage to Fiberglass Panels
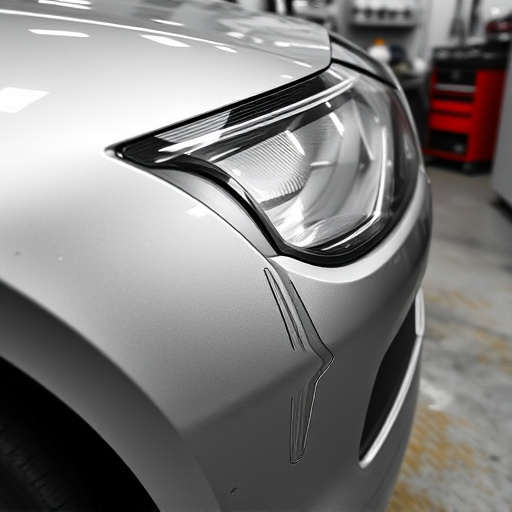
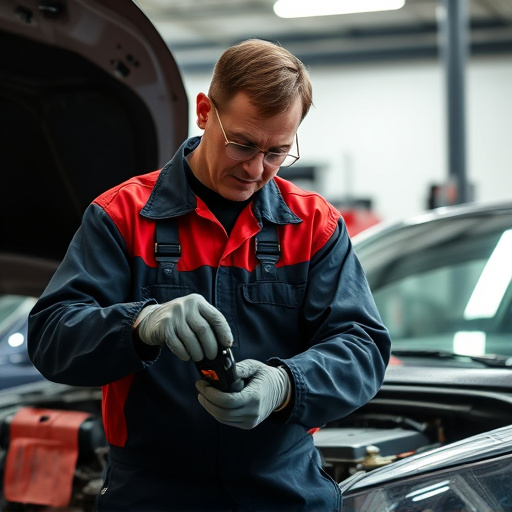
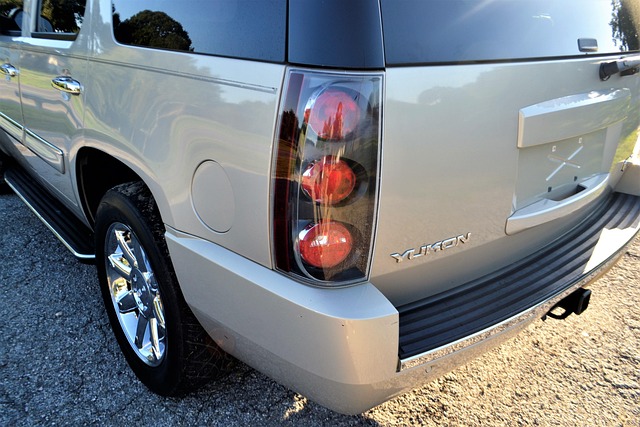
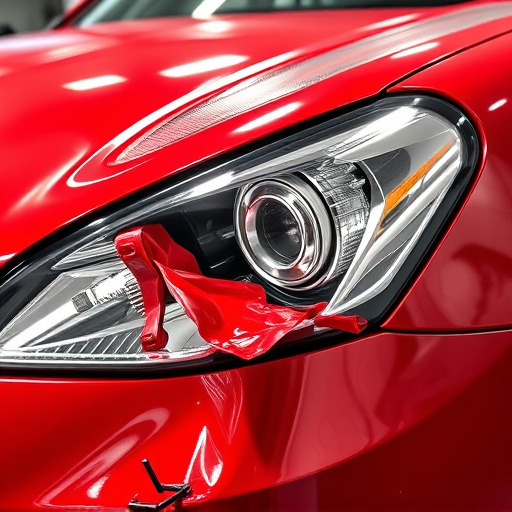
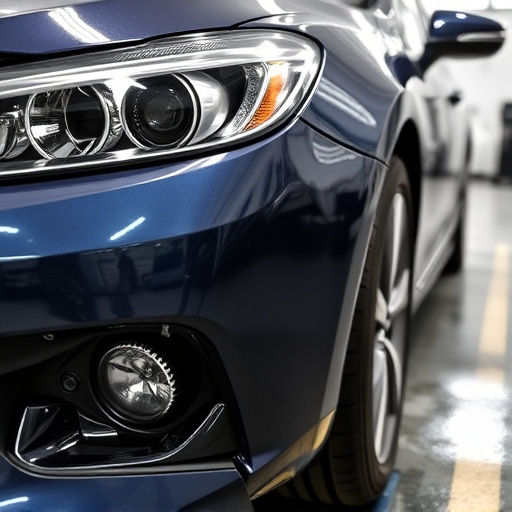
When assessing minor collision damage to fiberglass panels, the first step is to inspect the extent of the impact. Look for dents, cracks, or chips in the panel’s surface. These can often be identified by the naked eye and may require minimal fiberglass panel repair. Even small dents can affect the structural integrity of the panel, so it’s crucial to evaluate their severity.
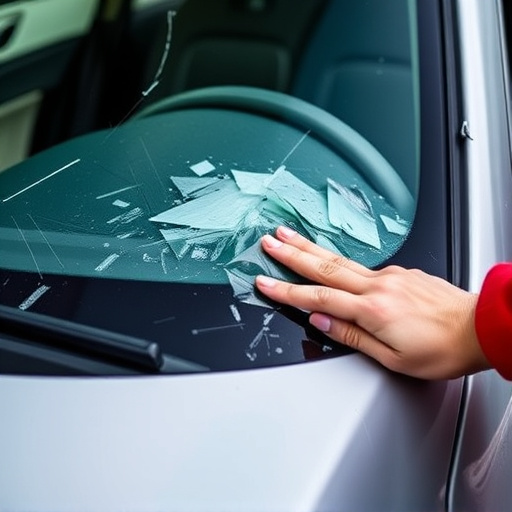
Consider using tools like a flashlight or a magnifying glass to scrutinize the damage more closely. For deeper dents, auto glass replacement might be necessary as part of the repair process. However, for superficial issues like minor chips or shallow dents, techniques such as dent removal can effectively restore the fiberglass panel to its original condition. Auto repair services offering specialized fiberglass panel repair are equipped with the expertise and tools to handle these scenarios efficiently.
Tools and Materials Needed for Repair
When it comes to fiberglass panel repair for minor collision damage, having the right tools and materials is essential for a successful outcome. The primary items on your list should include a variety of scrapers, sanders, and brushes suitable for removing damaged or loose fiberglas. For precise cuts, a utility knife and straight edge are indispensable.
In terms of materials, you’ll need body filler specifically designed for fiberglass, a primer to ensure proper adhesion, and a topcoat that matches the surrounding panel finish. Additionally, consider acquiring some rubber gloves, safety glasses, and a respirator mask to protect yourself from harmful fumes during the repair process. These fundamentals are key to achieving both effective fiberglass panel repair and seamless automotive restoration.
Step-by-Step Guide to Effective Fiberglass Panel Restoration

Repairing a fiberglass panel after minor collision damage involves a meticulous process that, when done right, can restore your vehicle to its pre-accident condition. Here’s a step-by-step guide for effective fiberglass panel restoration.
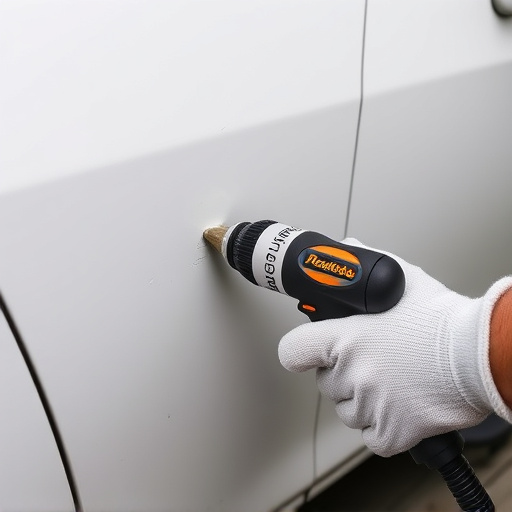
1. Inspection and Preparation: Begin by thoroughly inspecting the damaged area. Remove any loose debris or broken fibers using a fine-toothed brush. Clean the surface with a degreaser to ensure proper adhesion of the repair compounds. Mask surrounding areas with tape to prevent accidental damage during the repair process.
2. Sand and Prime: Using progressively finer grits, sand the damaged area until it’s smooth and free of any imperfections. Remove dust with a damp cloth. Apply an automotive primer specifically designed for fiberglass to fill in any minor imperfections and create a smooth base for painting. Allow the primer to dry completely according to the manufacturer’s instructions.
3. Apply Fiberglass Repair Compound: Mix the compound according to the product’s guidelines. Using a putty knife, apply a thin layer over the damaged area. Ensure it’s even and level with the surrounding surface. Let it dry, then sand again for a smooth finish. Repeat this process until the damage is completely filled.
4. Smooth and Sand: Once the final coat of compound is dry, lightly sand the repaired area to ensure a seamless blend with the rest of the panel. Use a fine-grit paper to achieve a smooth surface that matches the surrounding fiberglass.
5. Paint and Clear Coat: Apply a base coat specifically designed for fiberglass restoration. Allow it to cure fully, then apply a clear coat to protect the repair and give it a glossy finish. Make sure to use high-quality automotive paint and clear coat for long-lasting results.
Repairing minor collision damage to fiberglass panels is a feasible DIY project, allowing car owners to restore their vehicles’ aesthetic appeal and structural integrity. By understanding the damage assessment process, gathering the right tools and materials, and following a systematic restoration guide, you can achieve professional-looking results. With this knowledge, you’re equipped to handle small incidents promptly, ensuring your fiberglass panels remain in top condition for an extended period. Remember, proper care and timely repair are key to maintaining the overall health of your vehicle’s exterior.