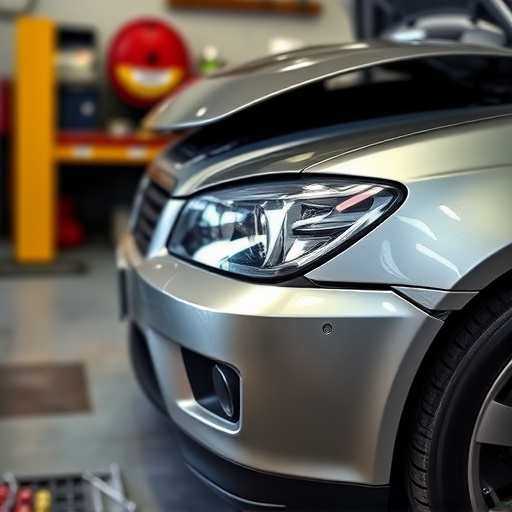

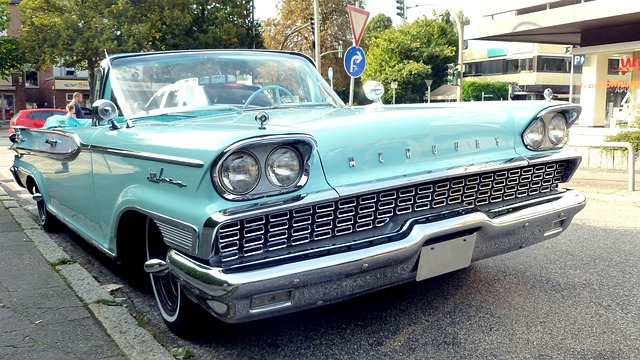

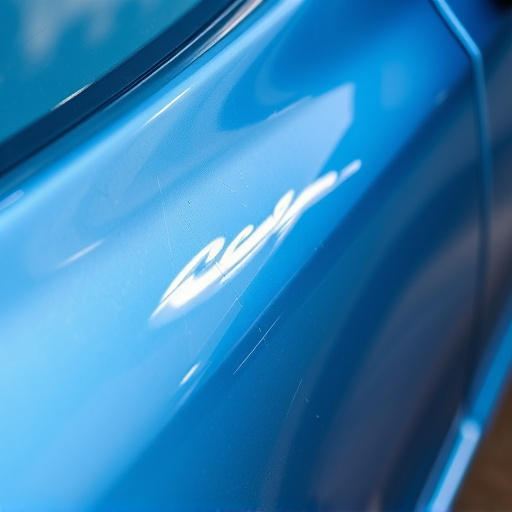
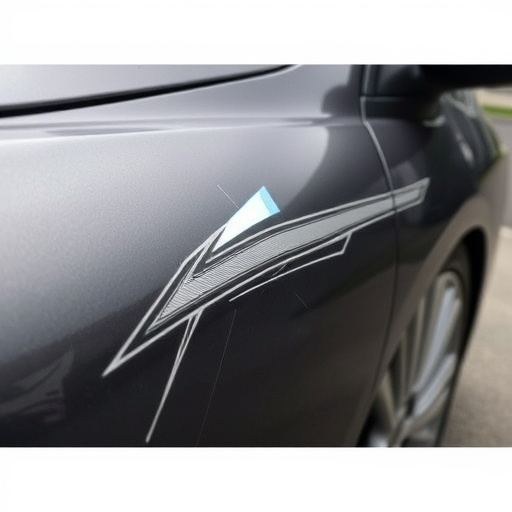
Fiberglass panel repair is crucial for maintaining vehicle integrity and aesthetics, especially in complex restoration projects like Mercedes Benz. The process involves identifying damage, cleaning, applying fiberglass matting, curing, trimming, filling gaps, sanding, and repainting with a gel coat. Auto shops use advanced techniques and specialized tools, like vacuum bagging and heat guns, along with resin/hardener mixtures tailored for automotive use. Proper repair ensures structural soundness and safety while meeting high auto collision repair standards.
“Learn the art of fiberglass panel repair with our comprehensive guide. From understanding damage causes like cracks, holes, and delaminations to mastering essential tools and materials, we’ve got you covered. Discover effective techniques step-by-step, ensuring your repairs are strong and durable. Whether accidental or wear-related, these strategies will help you navigate fiberglass panel restoration, enhancing safety and aesthetics in no time. Dive into the world of fiberglass panel repair today!”
- Understanding Fiberglass Panel Damage and Common Causes
- Essential Tools and Materials for Repair
- Step-by-Step Guide to Effective Fiberglass Panel Repair Techniques
Understanding Fiberglass Panel Damage and Common Causes
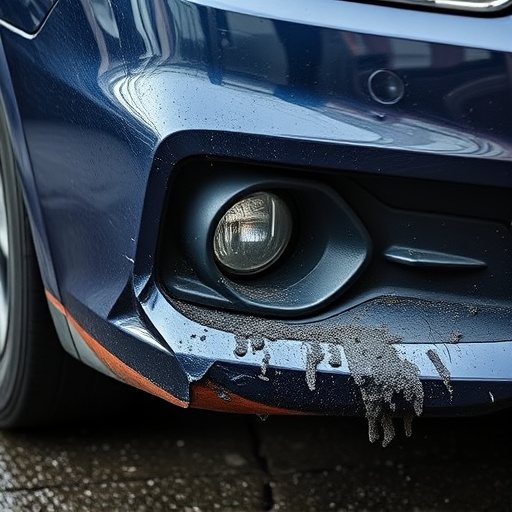
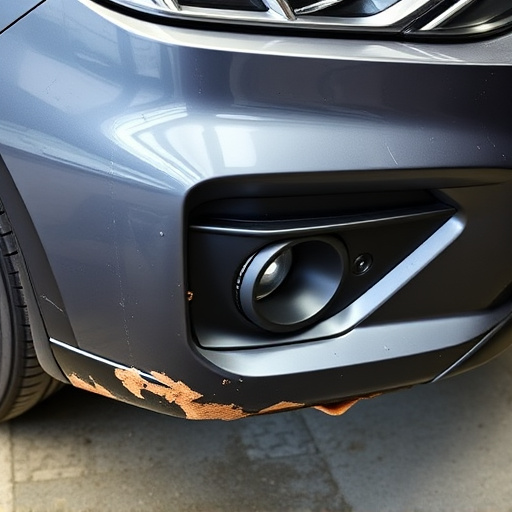
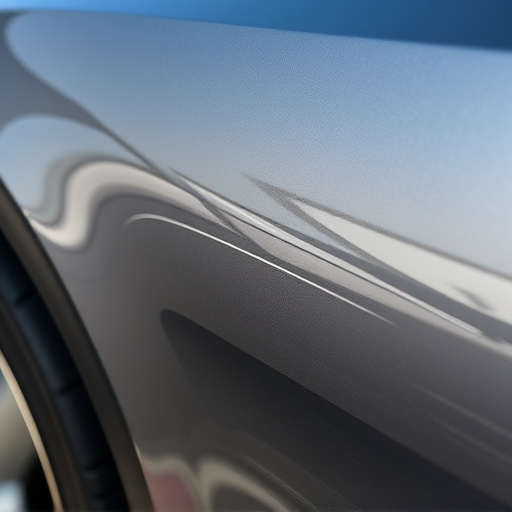
Fiberglass panel damage can manifest in various forms, from small cracks and chips to larger delaminations and holes. Understanding these types of damage is crucial for effective fiberglass panel repair. Common causes include environmental factors like extreme weather conditions, UV exposure, and chemical corrosions, as well as accidental damage during accidents or maintenance. In the case of car body repair, particularly with fibreglass-reinforced vehicles, identifying and addressing these issues promptly is essential to prevent further deterioration.
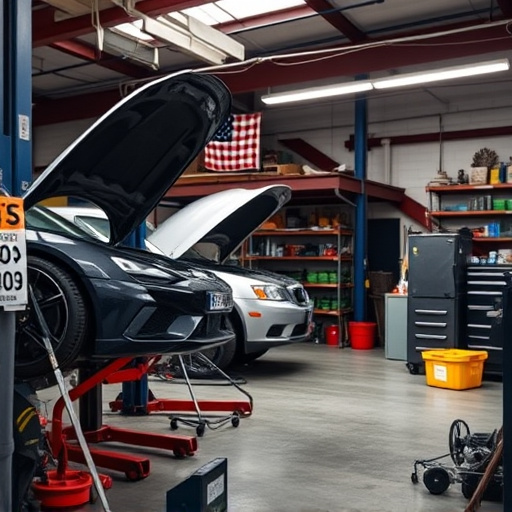
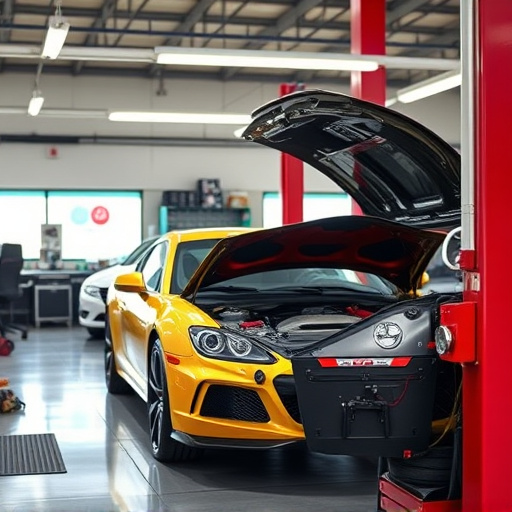
Many auto repair shops specialize in fiberglass panel repair techniques, utilizing specialized tools and expertise. They employ methods such as wet sanding, filling, priming, and painting to restore the panel’s structural integrity and aesthetic appeal. These repairs are not merely cosmetic; they ensure the safety and performance of vehicles, especially in the event of accidents or severe weather damage, requiring a proficient car paint repair service for precise outcomes.
Essential Tools and Materials for Repair
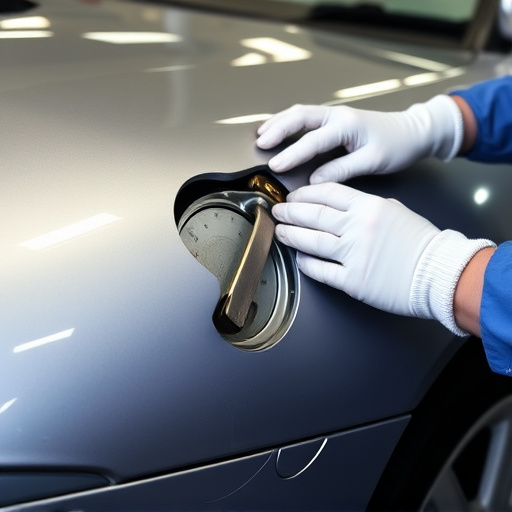
When tackling fiberglass panel repair, having the right tools and materials is essential for achieving a quality result that matches the original car body. For beginners, investing in a good set of hand tools, such as wire brushes, sandpaper (various grits), and clamping devices, is crucial. These enable precise cleaning, shaping, and securing of the damaged panel during the repair process. In addition to these fundamental tools, a key material for fiberglass panel repair is a mix of resin and hardener, which can be found in various formulations designed specifically for automotive applications.
For more complex mercedes benz repair or car restoration tasks, professionals often utilize specialized equipment like vacuum bagging systems and heat guns. Vacuum bagging helps create an airtight environment to cure the resin evenly, while heat guns facilitate the removal of old resin and debris during the prep stage, a step that’s crucial in achieving seamless car body restoration. Remember, the right tools and materials are not just about convenience; they significantly impact the final aesthetic and structural integrity of the repaired fiberglass panel.
Step-by-Step Guide to Effective Fiberglass Panel Repair Techniques
Repairing a fiberglass panel requires careful precision and a systematic approach to ensure the integrity and aesthetics of the surface. Here’s a straightforward guide for an effective fiberglass panel repair process.
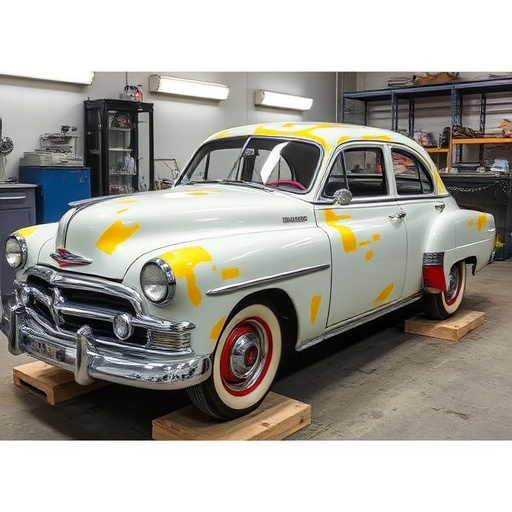
Start by thoroughly inspecting the damaged area, identifying any cracks or holes. Next, prepare the surface by cleaning it with mild detergent and water, ensuring no debris remains. Once clean, dry the panel completely. This step is crucial as moisture can hinder the adhesive’s effectiveness. Apply an appropriate fiberglass matting or mesh over the repair site, securing it with a strong adhesive designed for fiberglass. Allow the adhesive to set according to the manufacturer’s instructions. After the adhesive has cured, meticulously trim the excess matting, leaving a seamless finish. Fill any remaining gaps or holes using a fiberglass resin and a hardener mixture, carefully shaping and smoothing it until level with the surrounding surface. Sand the repaired area gently to remove any imperfections, ensuring a smooth base for the final coat. Finally, apply a high-quality gel coat over the repair, matching the original color precisely. This step completes the transformation, restoring the fiberglass panel to its former condition, akin to new, and maintaining the vehicle body shop’s or auto collision repair’s high standards.
Fiberglass panel repair is a valuable skill that ensures structural integrity and aesthetic appeal. By understanding the common causes of damage, gathering the right tools and materials, and following a systematic approach, anyone can effectively fix fiberglass panels. With these techniques, you can restore damaged surfaces, prevent further deterioration, and extend the lifespan of your fiberglass structures, whether it’s a boat, RV, or other composite components.