


Fiberglass panel repair demands skilled technicians who assess damage, choose between replacement and repair, and use specialized tools and resins. The process involves preparation (cleaning, sanding), repair (applying resin, mat, curing), and finishing (sanding, cleaning, coating) for durable results, emphasizing safety and aesthetic appeal.
Navigating the challenges of fiberglass panel repair is crucial for maintaining structures’ integrity. This comprehensive guide tackles common issues, equipping you with the knowledge to effectively address damage. From understanding the types of fiberglass panel harm to acquiring the right tools and materials, we provide a step-by-step approach for successful restoration. By following these guidelines, you’ll be prepared to handle various repairs, ensuring longevity and quality in your projects.
- Understanding Common Fiberglass Panel Damage
- Tools and Materials for Effective Repairs
- Step-by-Step Guide to Successful Panel Restoration
Understanding Common Fiberglass Panel Damage
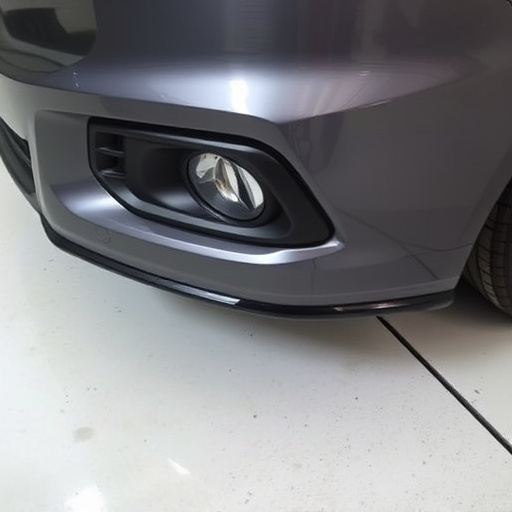
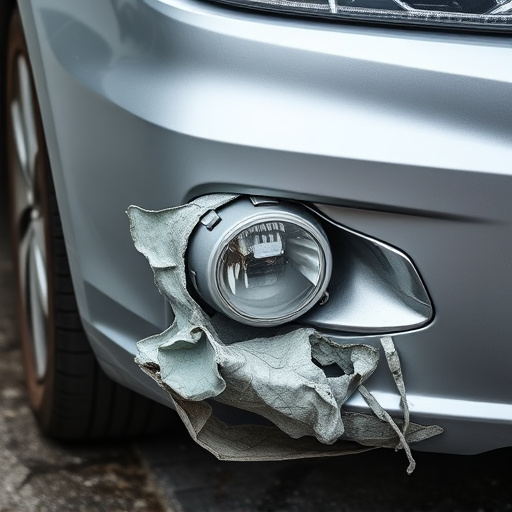
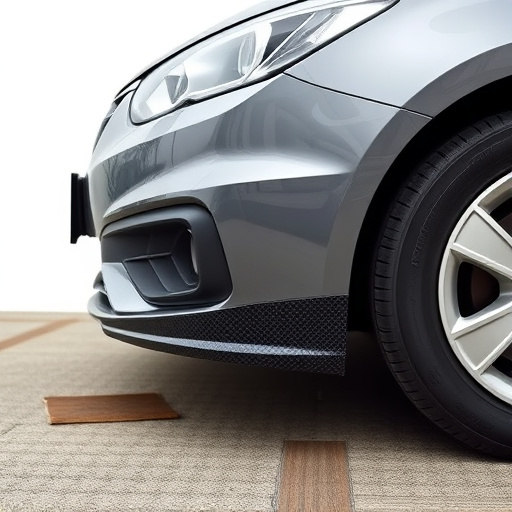
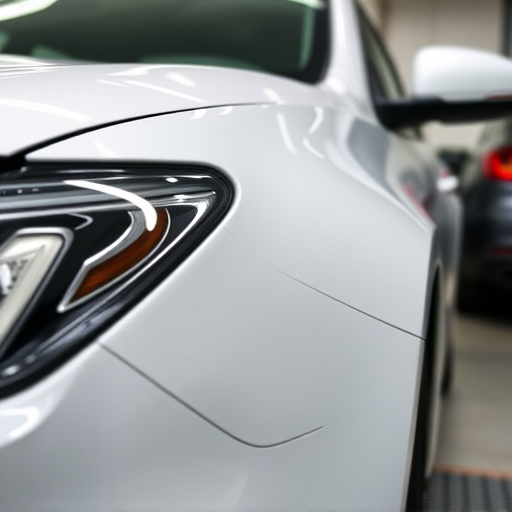
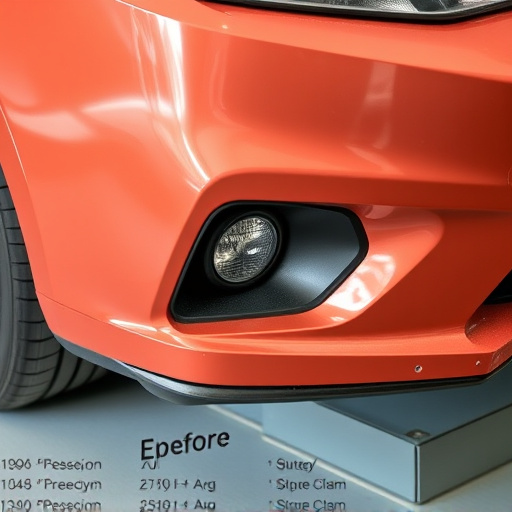
Fiberglass panel damage can manifest in various ways, each requiring a specific approach during the fiberglass panel repair process. Common issues include cracks, chips, and dents that can be caused by debris impact, weather exposure, or even accidents. These damages can range from minor aesthetics concerns to structural integrity issues, making prompt attention crucial for both safety and appearance.
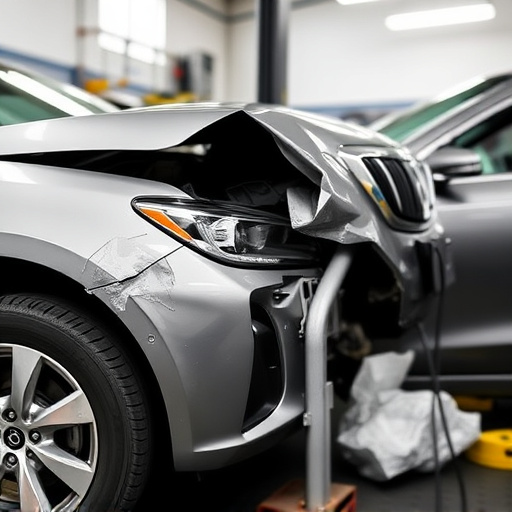
Identifying the extent of the damage is essential before initiating any fiberglass panel repair. Auto body shops offering automotive repair services often employ skilled technicians who can assess the situation accurately. They may utilize special tools and expertise to determine if the damaged area needs replacement or can be successfully repaired, ensuring customers receive the most cost-effective solution for their vehicle’s tire services and overall condition.
Tools and Materials for Effective Repairs
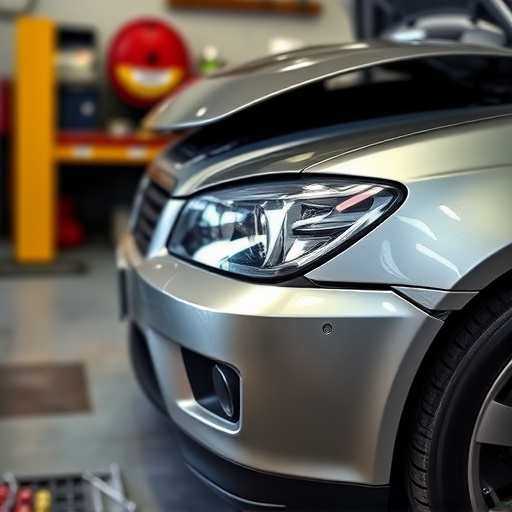
When undertaking fiberglass panel repair, having the right tools and materials is paramount to achieving a quality result. For effective repairs, professionals often turn to a set of specialized tools designed for this purpose. These include various types of cutters, drills, and scrapers that can navigate the intricate shapes and curves of fiberglass components. Additionally, a selection of resins, hardeners, and fillers specifically formulated for fiberglass are essential. These materials ensure strong bonding and seamless integration with the existing panel.
The process often involves preparing the damaged area by removing loose fibers and debris using fine-toothed scrapers and sandpaper. This meticulous step is crucial in creating a clean surface for repair. Subsequently, applying the resin compound and carefully shaping it to match the panel’s contour is common practice. Some techniques even promote paintless dent repair, aligning with modern aesthetics in vehicle restoration and car paint services.
Step-by-Step Guide to Successful Panel Restoration
Restoring a fiberglass panel requires careful steps to ensure a durable and seamless fix. Here’s a straightforward guide for successful fiberglass panel repair:
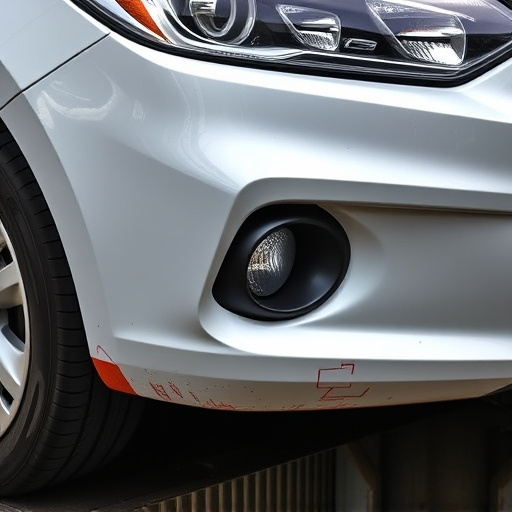
1. Assessment: Begin by thoroughly inspecting the damaged panel, identifying the extent of the damage, and gathering necessary tools and materials, including resin, hardener, sandpaper, and protective gear. For complex repairs, consider seeking advice from an experienced auto repair shop or body shop specialist who has expertise in fiberglass repairs.
2. Preparation: Clean the damaged area to remove any dirt, debris, or loose fibers using a degreasing solution and fine-grit sandpaper. This step ensures proper adhesion for the upcoming repair. Mask surrounding areas with tape to prevent overspray from affecting other parts of the vehicle during the application process.
3. Repair Process: Apply a thin layer of resin onto the damaged area, ensuring complete coverage. Use a brush or roller according to product instructions. Let the resin dry until it becomes slightly tacky. Then, gently apply a layer of fiberglass mat over the repair site, pressing firmly for a secure bond. Repeat this process, building up layers as needed, and allowing each layer to cure completely before adding another.
4. Sanding and Finishing: Once the final layer is cured, carefully sand the repaired area with progressively finer grits until it matches the surrounding surface. Remove any excess resin or fiberglass debris. After sanding, clean the panel again to remove dust particles. Finally, apply a suitable finishing coat or primer, allowing it to dry completely before reinstating the panel on the vehicle.
Fiberglass panel repair is a specialized process that, when executed correctly, can extend the life of these durable materials significantly. By understanding common damage types, gathering the right tools and materials, and following a structured repair guide, you’re well-equipped to tackle fiberglass panel repairs effectively. With this knowledge in hand, you can ensure your structures remain robust and aesthetically pleasing for years to come, making fiberglas panel repair a valuable skill to have in your toolkit.